This post is about using the raspberry pi pico for a bad USB. The pico i have is the pico WH, but any pico should be fine.


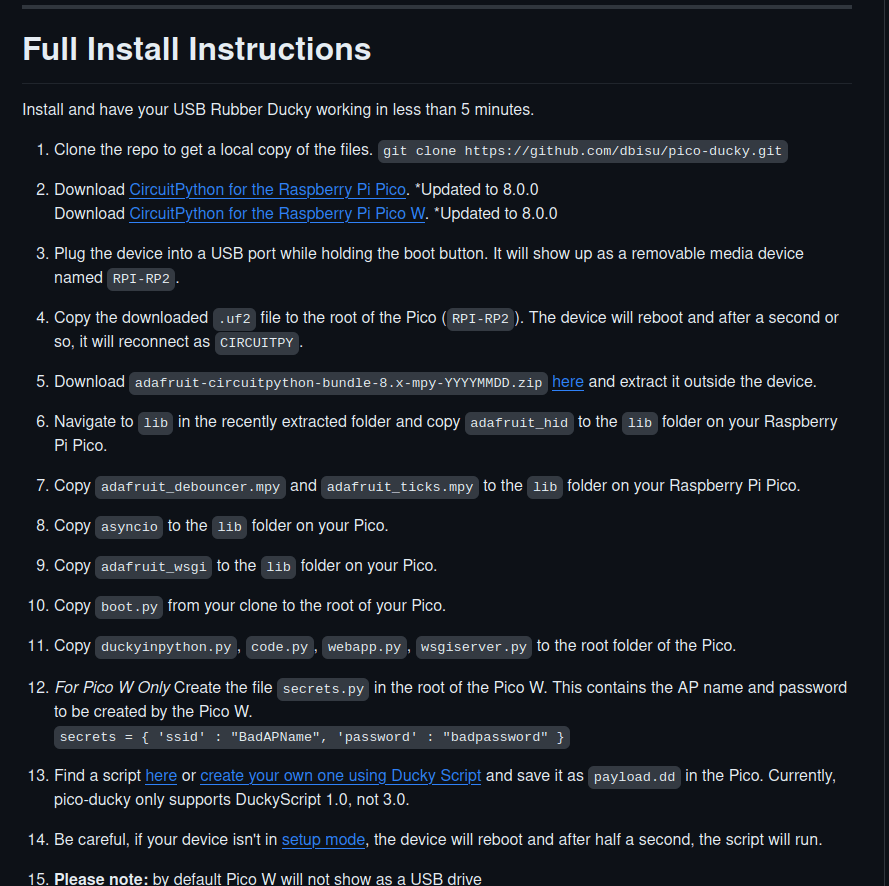
To get started plug your pico into your computer, when you do this you will need to hold down the small button on the pico this is the boot button. It will show up as a removable media device named RPI-RP2.
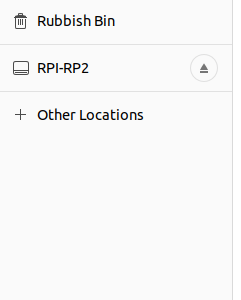
There will be 2 files inside. Don’t need to worry about theses for now.

You can navigate to https://github.com/dbisu/pico-ducky here is all the information you require. We will go through this.
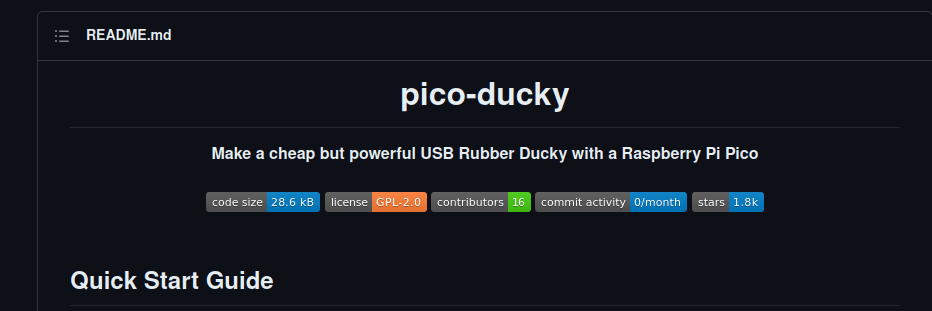
I recommend following the full instructions they are up to date.

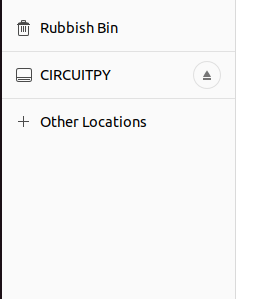
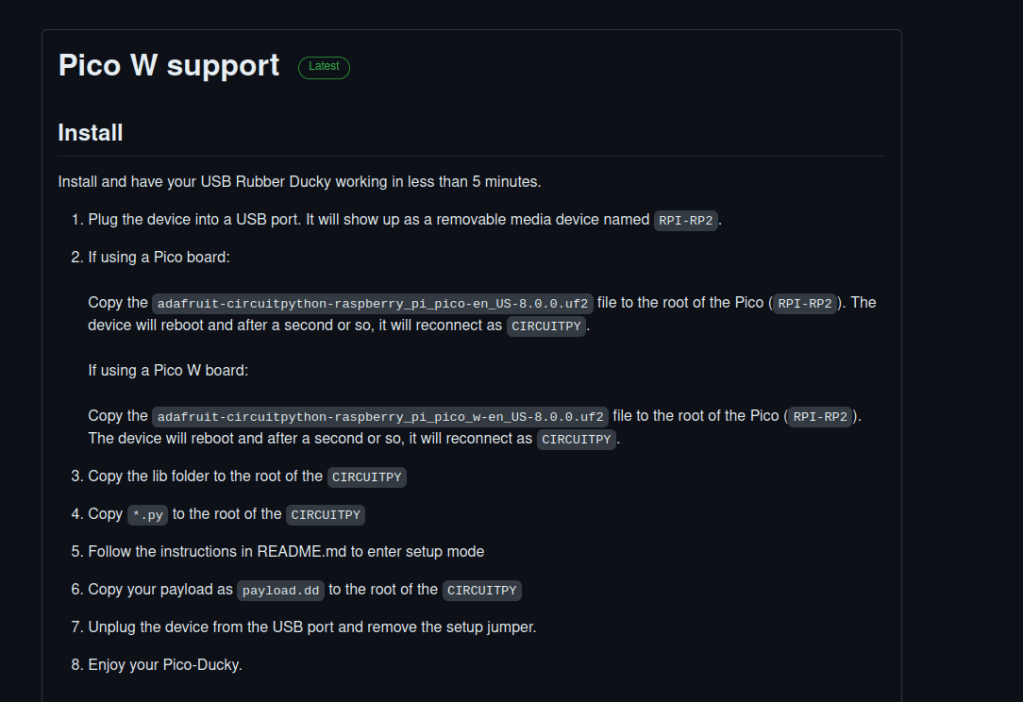
Go to the circuit python download page. and download the file needed. Copy the downloaded file to the pico. The pico will reboot and will appear with a new removable media name CIRCUITPY.

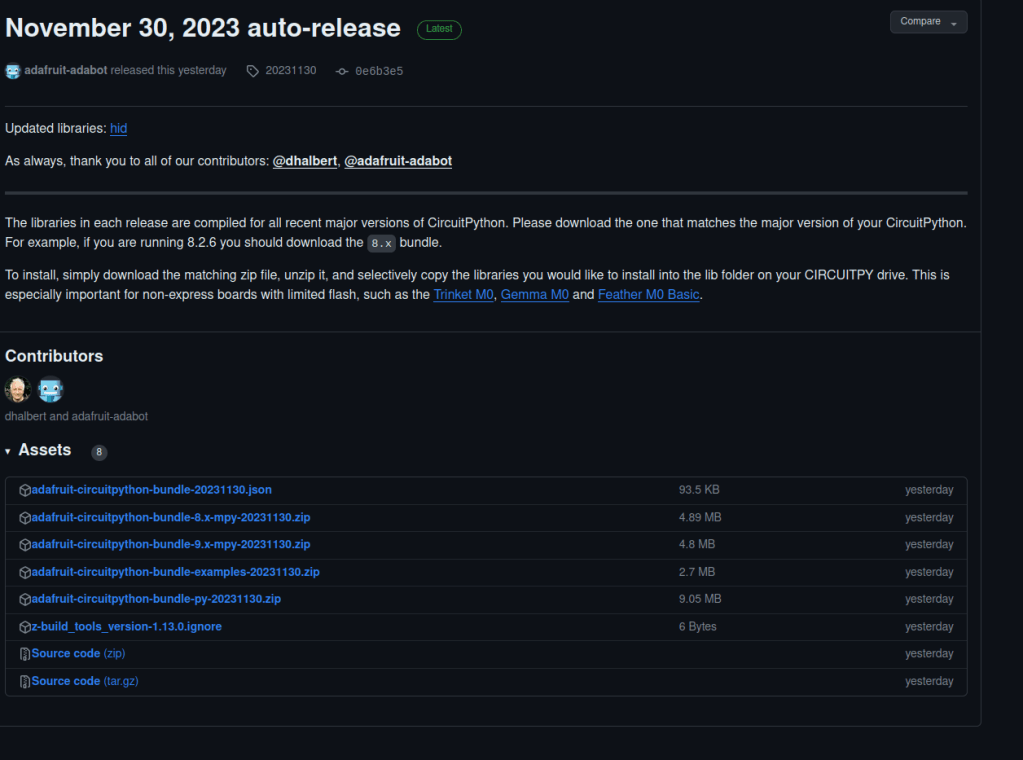
Next follow the link and download the circuitpy bundle.
You will also need some other files. At the top of the pico-ducky github page there is a quick start guide and there is a link called releases click this and download pico-ducky-v2.0-us.zip or whichever one is relevant to you.

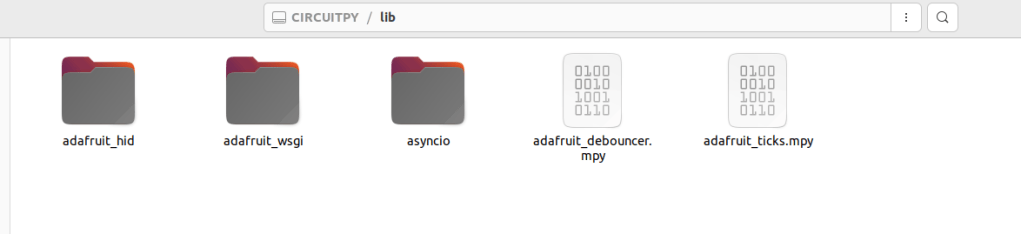
Now go back to the adafruit-circuitpython-bundle-8.x-mpy-20231129 folder. Now go inside the lib folder and find adafruit_hid, adafruit_debouncer.mpy, adafruit_ticks.mpy, asyncio and adafruit_wsgi. Move all of these files to your lib folder on your pico device. So inside your pico lib folder it should look like below.
Now with the files you extracted from pico-ducky-v2.0-us.zip. Move the files boot.py, duckyinpython.py, code.py, webapp.py and wsgiserver.py to the root of the pico, you may have to replace code.py this is fine. It should look like below.

I will also add that if you want to try out different payloads it is best to change the boot.py file. If it is run in it’s current state the pico-ducky will not show up in storage media, so you will have to wipe the pico and follow all the instructions again. Open the boot.py file and at the bottom and change this to False. If you are going to do a pentest or prank, but want to do it covertly you can change this back to True. If you have a bread board and jumper cables you can also follow the instructions on the github page for this method.


Now Go to this page. Go to Payloads/library/prank.

You can use anyone you want. Keep in mind for the pico you can only use versions of scripts which are 1.0 not 3.0. 3.0 are used for a real hak5 rubber ducky. I picked one called AllOperatingSystemRickroll.


Now copy the code form your script. Put it in a text document and save it as payload.dd.

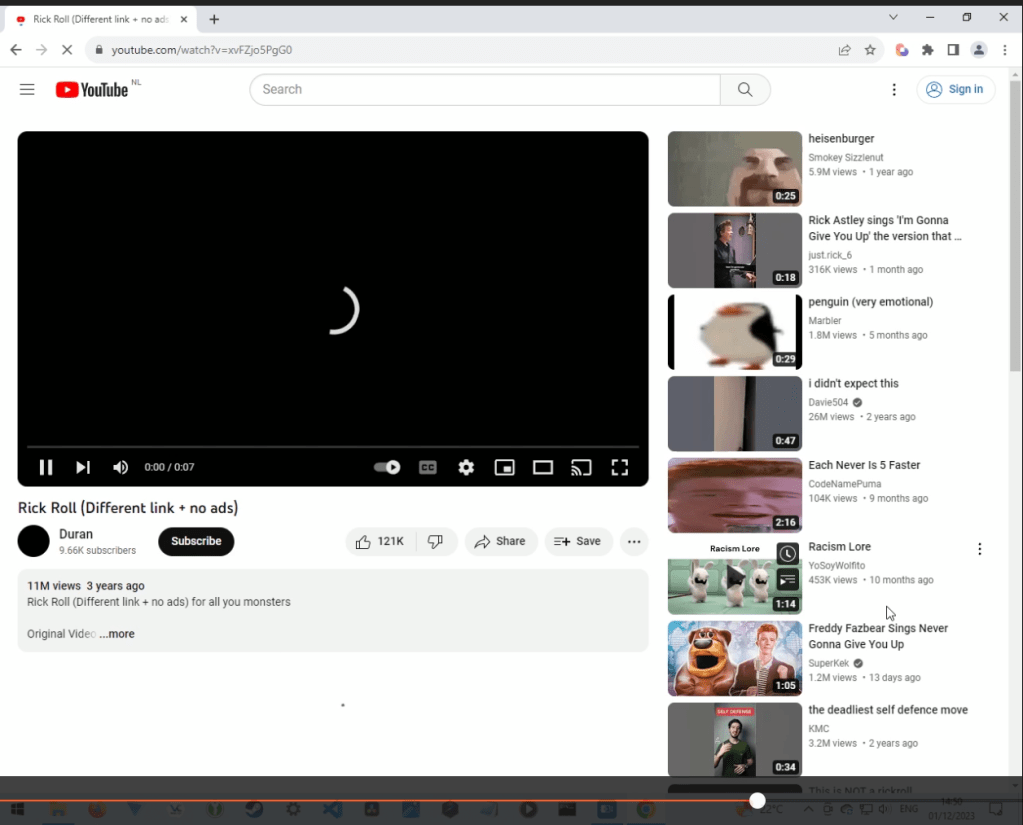
You can now use your bad USB. This is my one in screen shots.


You can have play around with this to get use to the different scripts. I will do some more post on the pico and some of my own scripts.
If you want to wipe the pico back to factory settings i will link this site i found: https://electrocredible.com/how-to-reset-raspberry-pi-pico-w/ In step 2 it tells you to download flash_nuke.uf2. This file is then placed on to your pico, your pico will restart and you will see it in your removable media as RPI-RP2.


Leave a comment