This is a continuation from my mini Ai course on youtube. I will show you how you can make images with flux and the full comfyUI set up for turning your images into videos.
Flux
Here are some of the files you will need:
https://civitai.com/models/618692?modelVersionId=691639 – flux dev
https://huggingface.co/comfyanonymous/flux_text_encoders/tree/main – txxl5 + clip.l
https://huggingface.co/black-forest-labs/FLUX.1-dev/tree/main – vae
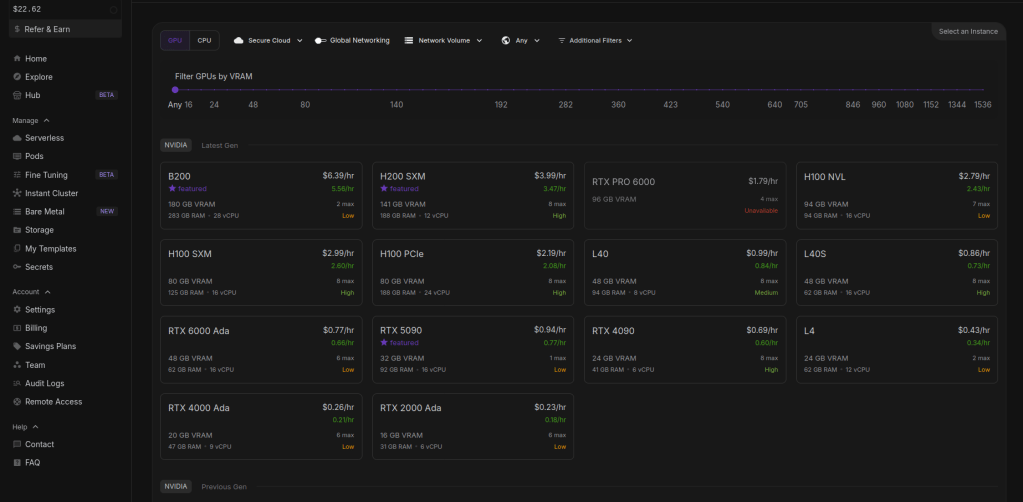
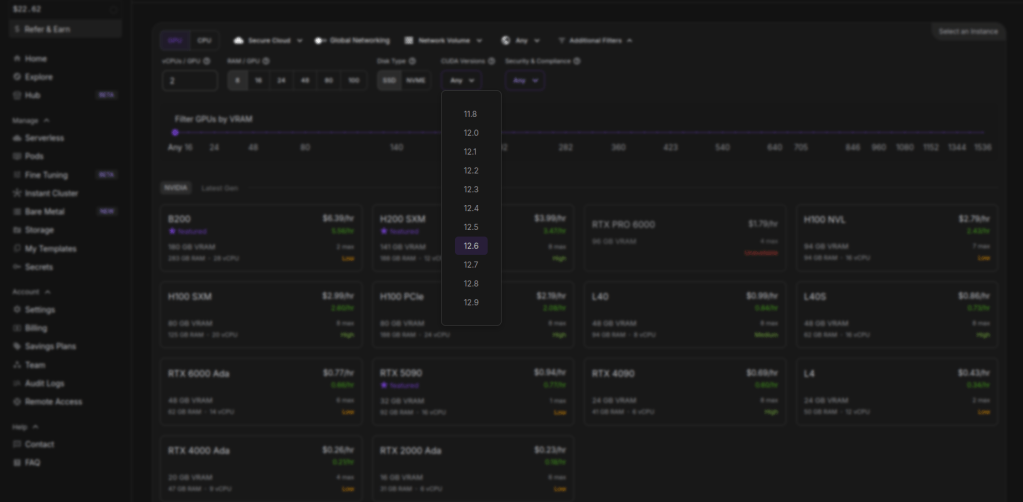
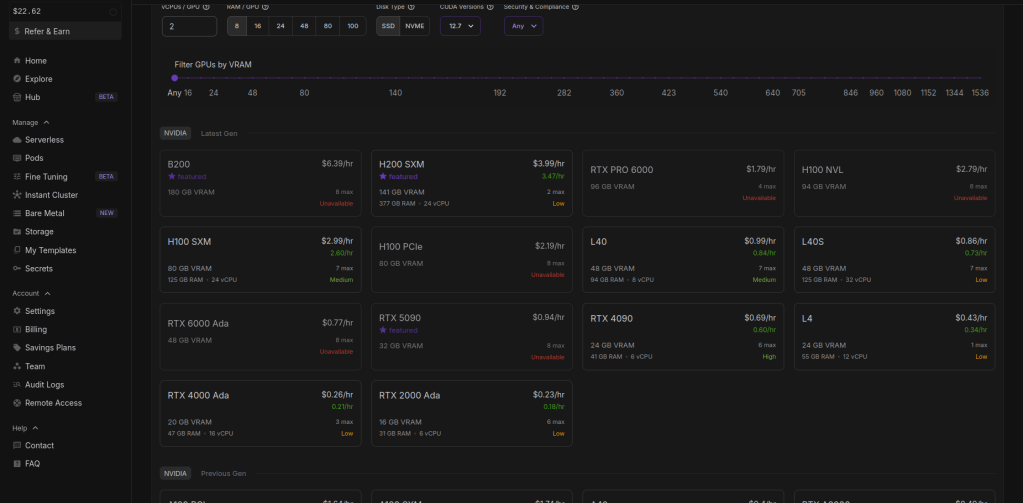
So on the pods page i change the cuda version to 12.6 or above in order for the wan pod we will use to work. You can change the cuda version to see what pods are available, sometimes there is no cheaper ones avalaible when you pick 12.6 version. I will go with the RTX 4090.
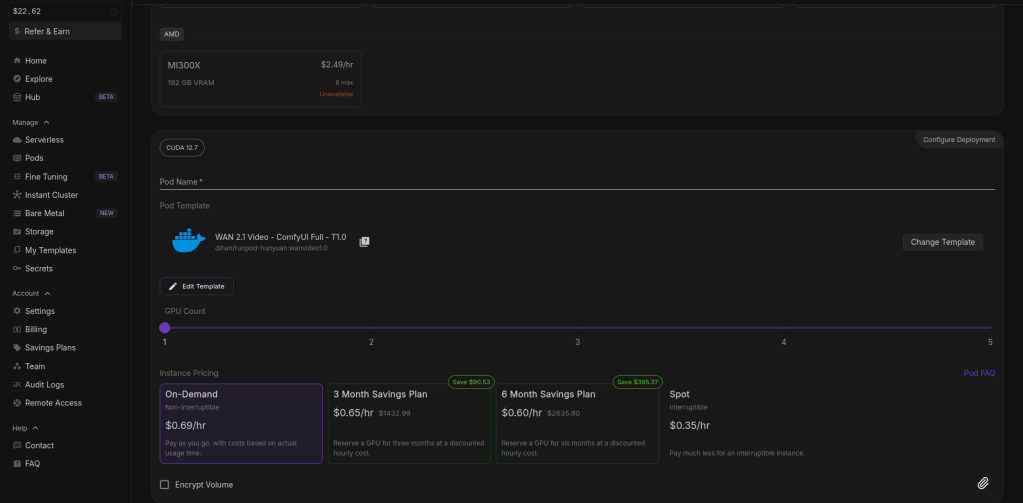
Once chosen click on deploy pod at the bottom. This can take a few minutes to 25.
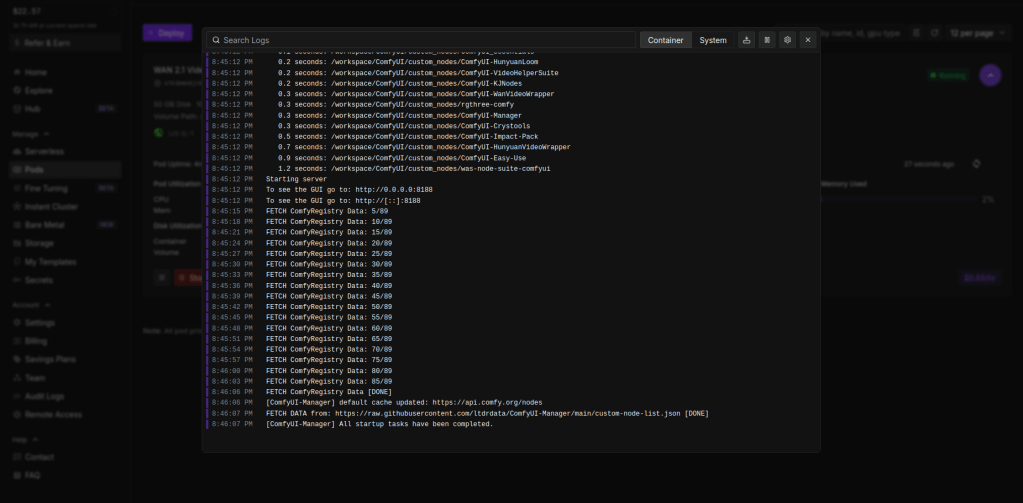
It should look like this when complete. Then go to connect > under web terminal, click start > open web terminal.
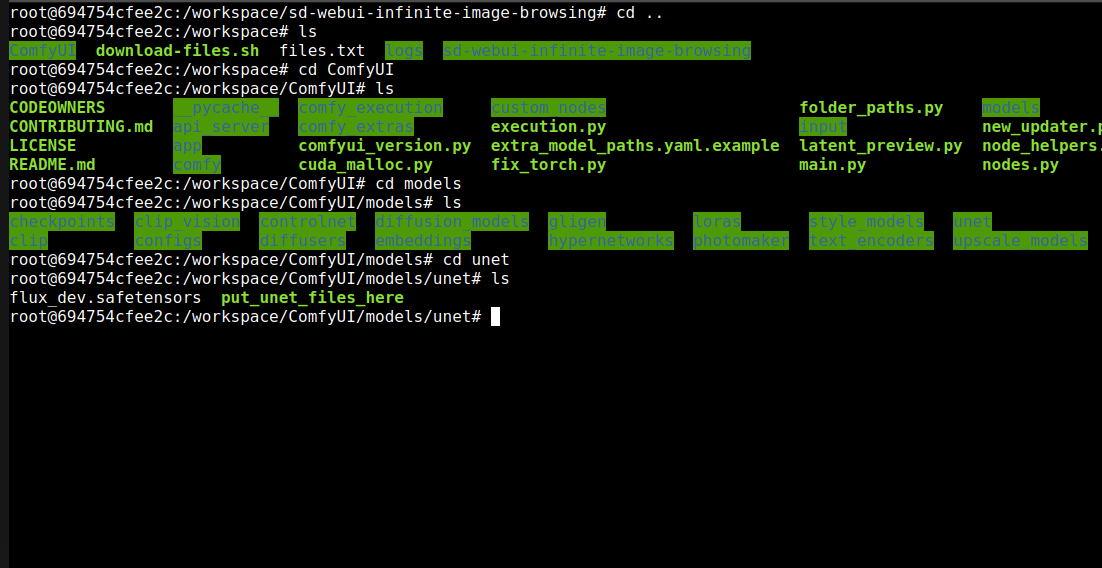
Change directory to the unet folder, commands are in picture.
Then send flux_dev over from your computer. Copy command and place on the pod side.
After entering you should see percentage bar, it can take 20-25 minutes. Here in the picture i have already uploaded it.
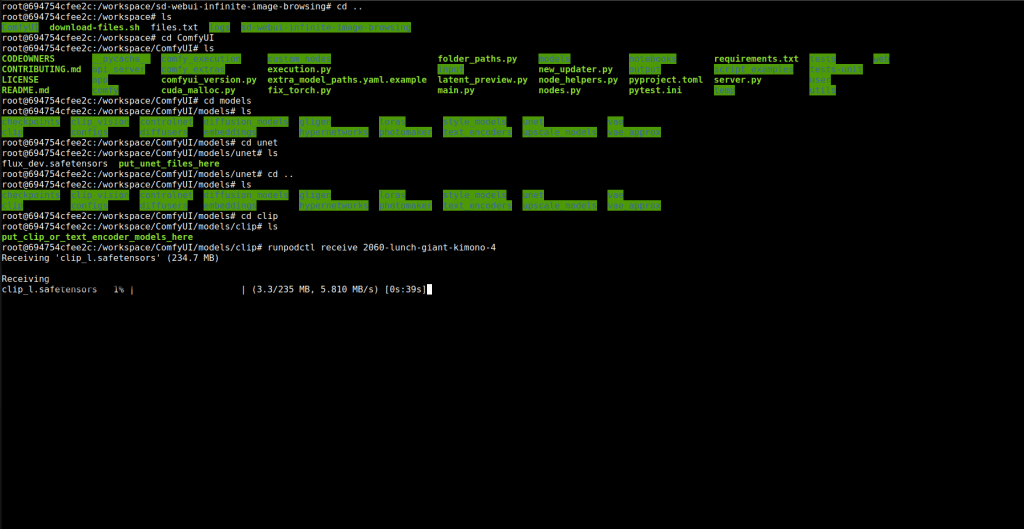
Then cd in to the clip directory and upload clip.L and t5xxl_fp16.safetensors.
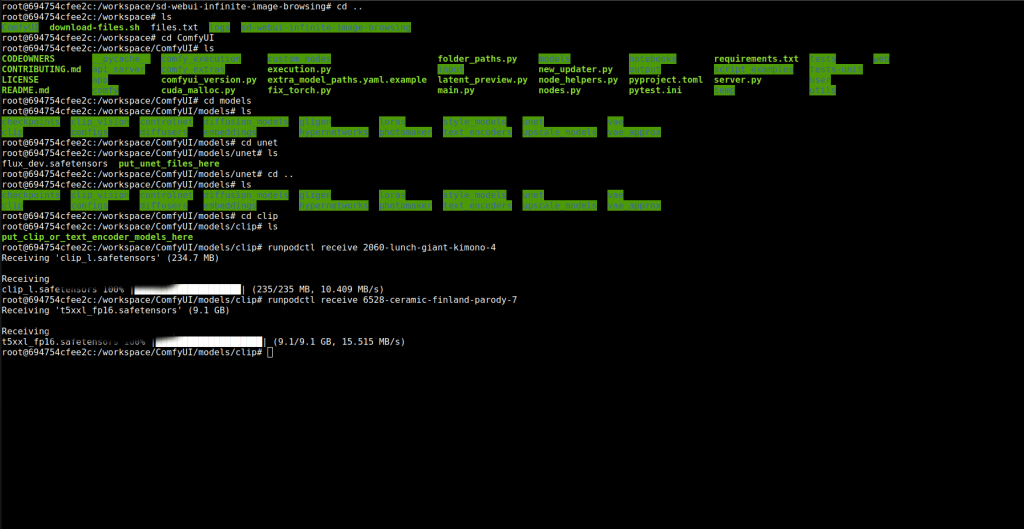
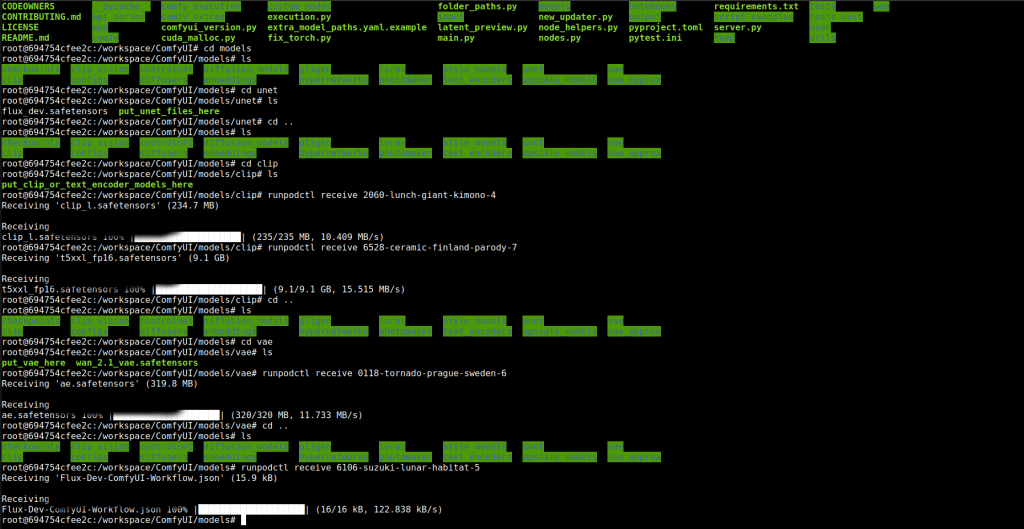
Then upload ae file to the vae folder. You also need to upload the json workflow i will provide link: https://comfyui-wiki.com/en/tutorial/advanced/flux1-comfyui-guide-workflow-and-examples. This will conclude the uploading for flux.

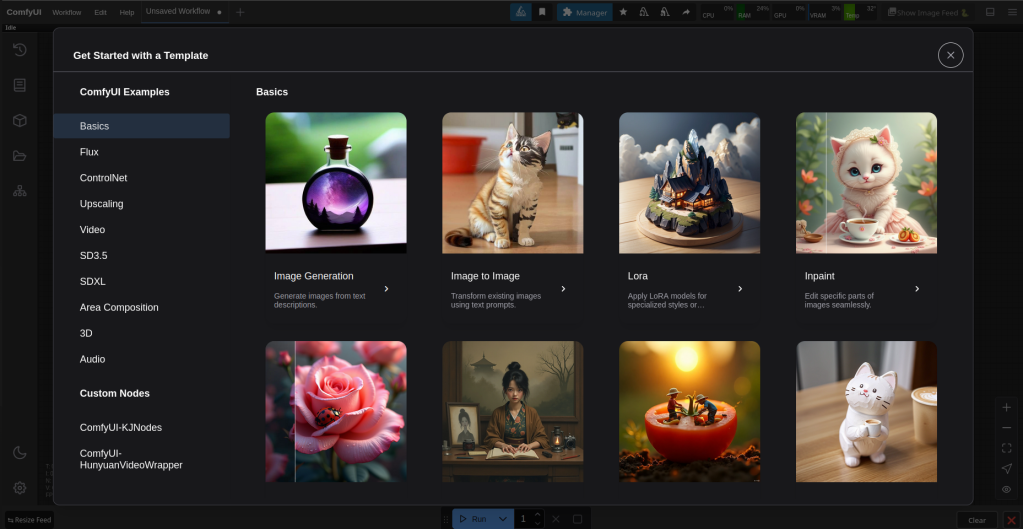
Now click on the second box 8188 this will take you to comfyui. The top service will take you to were the output folder is, here you can download your creations.
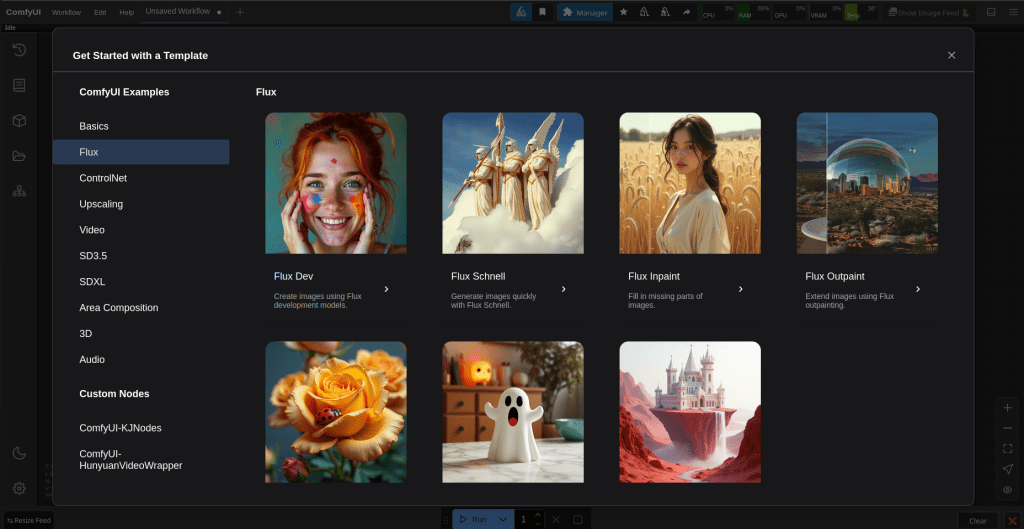
On the left click on flux and then flux dev. This will load another page with a workflow. Click the plus tab to start a new page, then drag the workflow from your own computer to the page. When i tried this without uploading the json file it would’nt work.
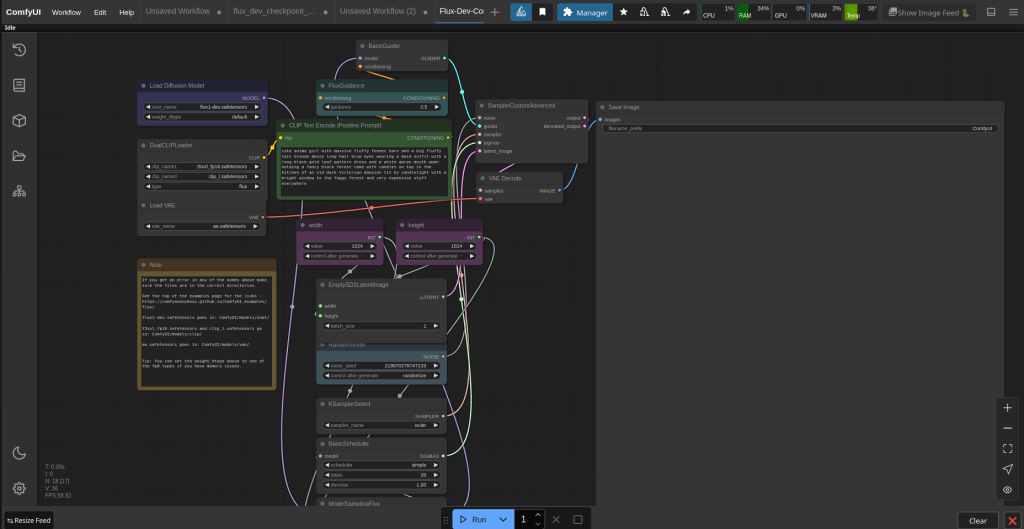
It should look like this. In the load diffusion model box click along until you find flux_dev.safetensors. This will be our one, the default one has a 1 in it.
You can then fill in the prompt and create pictures. Flux can produce NSFW, but not as good as the stable diffusion method.
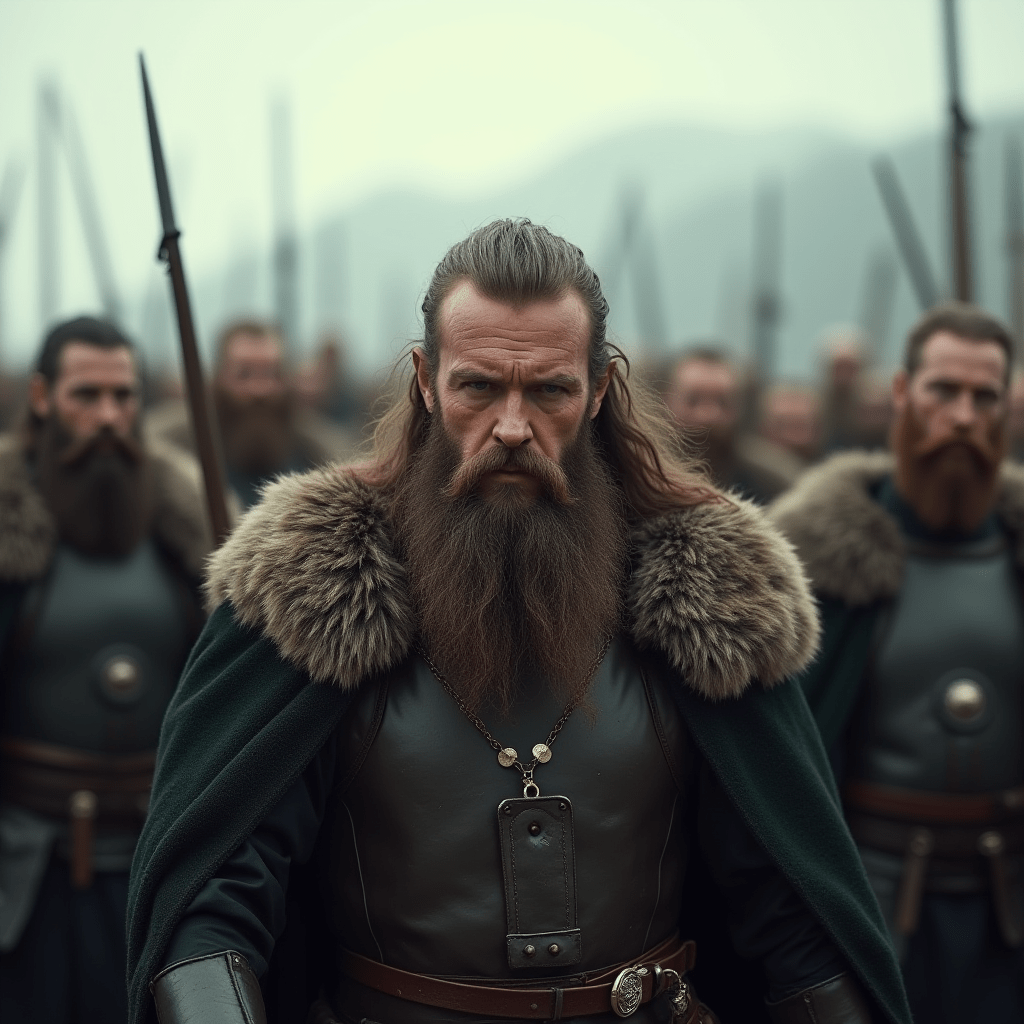
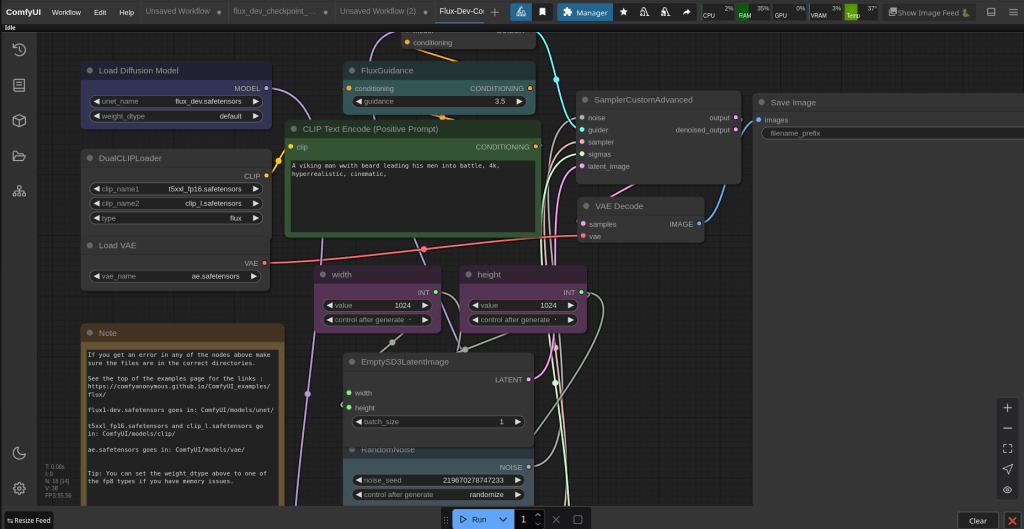
This is the picture it produced. The first image can take a few minutes, but after that one they should be about 10-15 seconds.
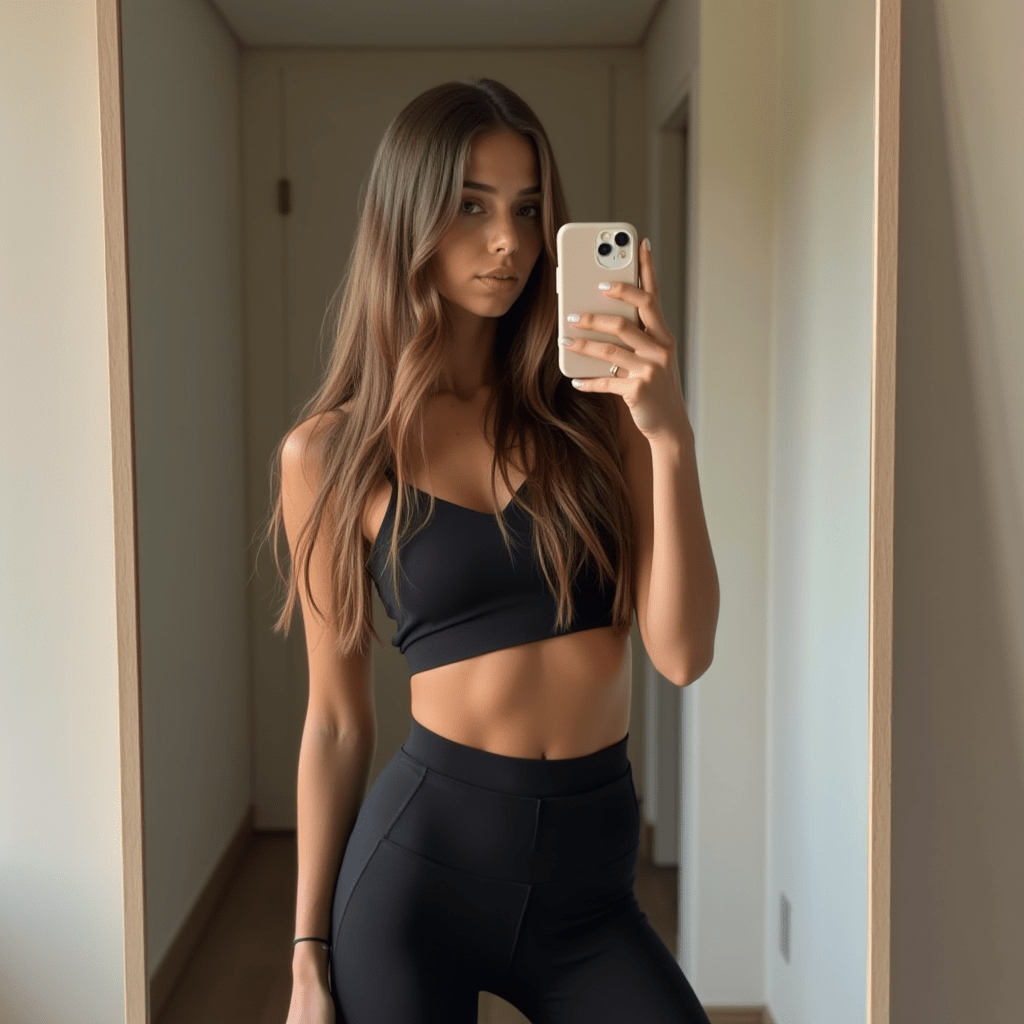
These are a few of the images i created. It is worth assessing how many images you can create given the price of places like runpod, you may be able to create more images here then signing up to some websites. There are pros and cons to everything anyhow.
Stable Diffusion
I did say i would add some more features from my youtube video about stable diffusion and using models and loras. Now the models and loras i will provide will be from https://civitai.com/.
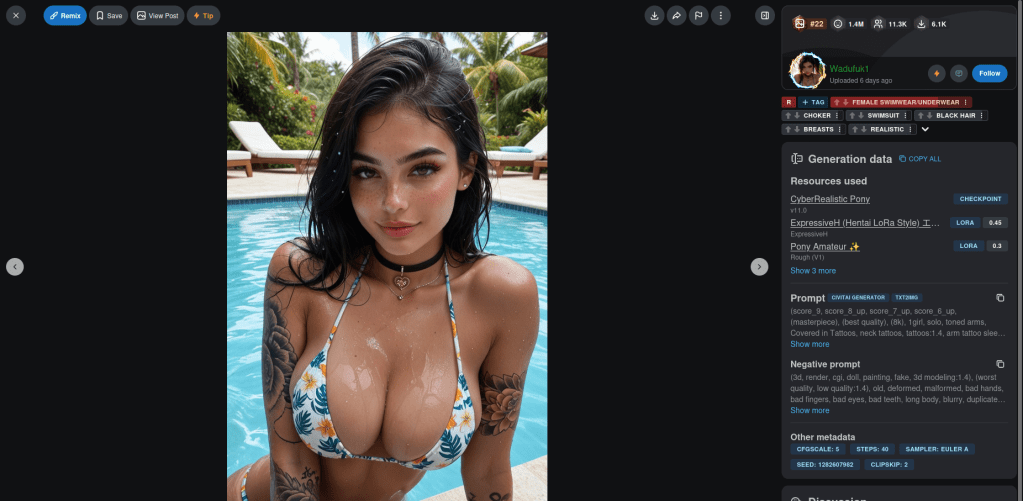
This is a shot from the website, as you can see the models and loras are on the right. You can look at some pictures to find the models or use the search bar.
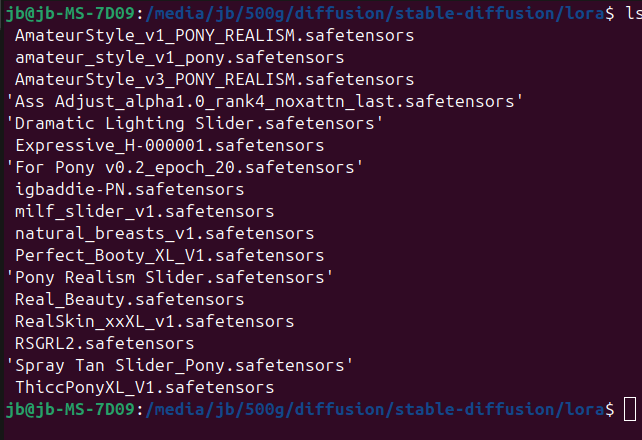
Here is a list of loras i have downloaded and tried. Here is an example of a positive and negative prompt:
score_9, score_8_up, score_7_up, score_6_up, masterpiece, long slim legs, blonde, nude, cowboy shot, extreme close-up, medium breasts, large ass, thick thighs, wide hips, hourglass figure, pawg, plump, lusty, cleavage, gorgeous face, blonde hair, narrow waist, thighs, skindentation, motion lines, smile, dynamic angle, bedroom, CyberRealisticPony_POSV1<lora:AmateurStyle_v1_PONY_REALISM:0.3><lora:Rawfully_Stylish_v0.2:0.2> <lora:igbaddie-PN:0.3> <lora:Perfect_Booty_XL_V1:1.5><lora:Real_Beauty:0.6> <lora:RSGRL2:0.5>
3d, render, cgi, doll, painting, fake, 3d modeling:1.4, worst quality, low quality:1.4, old, deformed, malformed, bad hands, bad fingers, bad eyes, bad teeth, long body, blurry, duplicated, cloned, duplicate body parts, disfigured, extra limbs, fused fingers, extra fingers, twisted, distorted, malformed hands, malformed fingers, mutated hands and fingers, conjoined, missing limbs, bad anatomy, bad proportions, logo, watermark, text, lowres, mutated, mutilated, blend, artifacts, gross, ugly, depth of field, asian, face defects, car, car interier, transport, claustrophobic, milf, elderly, selfie, CyberRealistic_Negative_PONY_V2-neg
Uploading the loras and main model is the same as in flux above and in my youtube videos, via runpodctl.
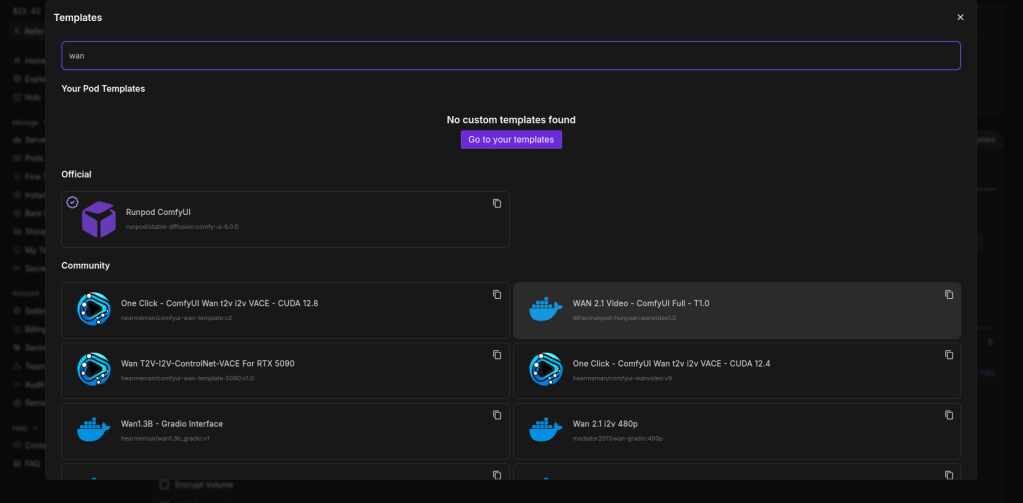
Wan 2.1
So here i will go into wan 2.1. The first part is the same as setting up flux, same pod , cuda 12.6 or above, but the files we upload will be different and the option we pick when loading comfy.

Here we are using “on the fly wan”, it is one of the models from civiti ai.
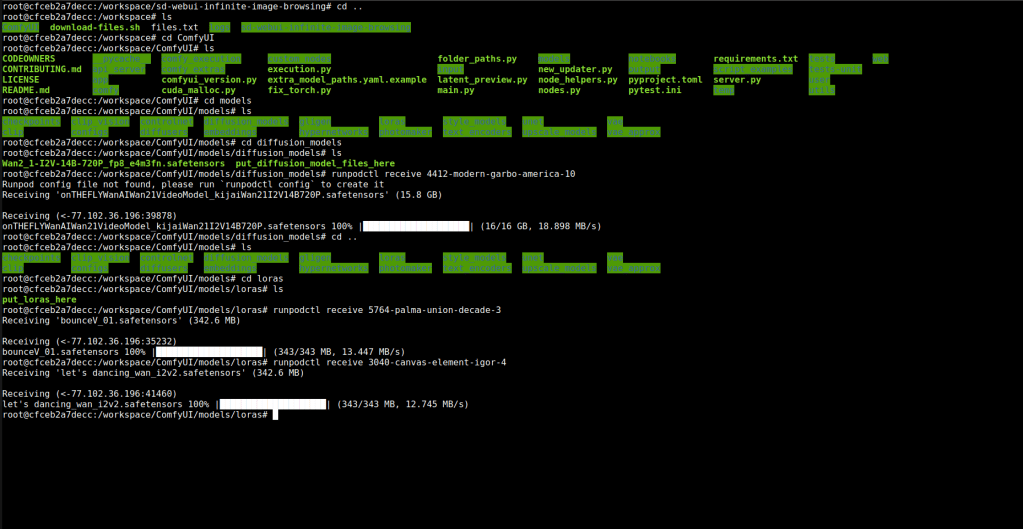
Here i placed the model in the diffusion_model folder. The loras in the lora folder.
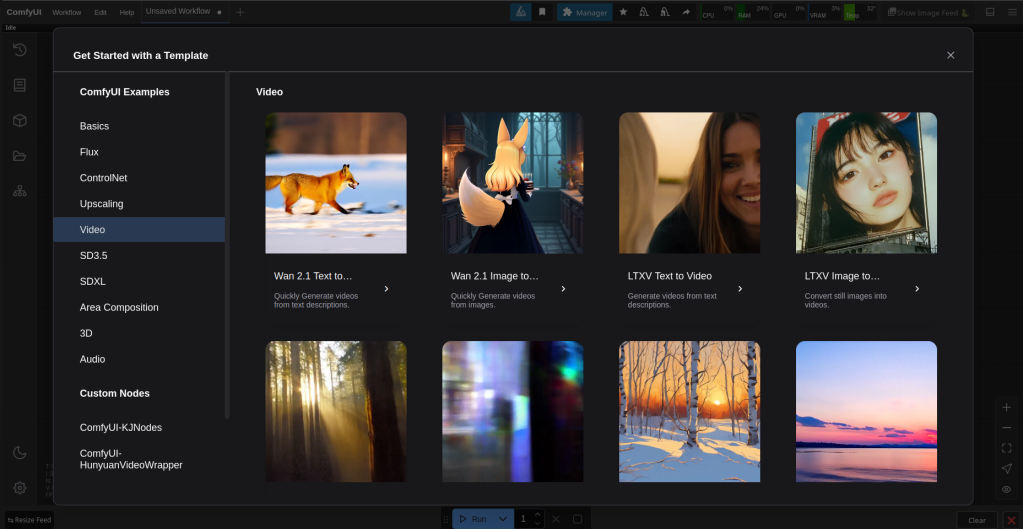
Then we come to this screen again. This time go down and click on video then on wan 2.1 image to video.
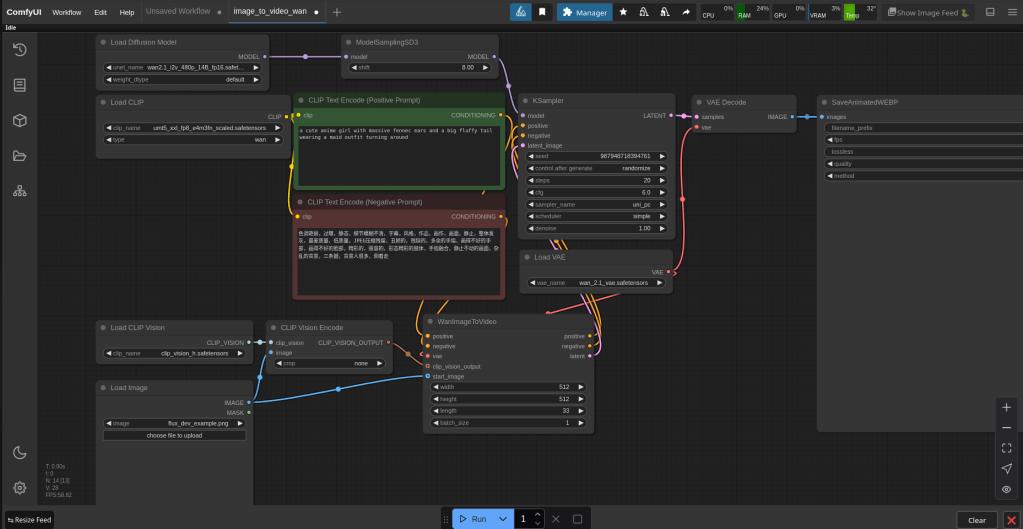
This is the default set up. Change the load difussion model option to on the fly wan. Load clip to umt5_xxl_fp16.safetensors. Steps to 30, cfg 7.0. If you got a picture from stable diffusion and followed the instructions from that, width and height will be 832 – 1216. Length is seconds in video, 81 is about 4 seconds. When using this i went to 121 it crashed you would probably need a more powerful machine to go further then 121.
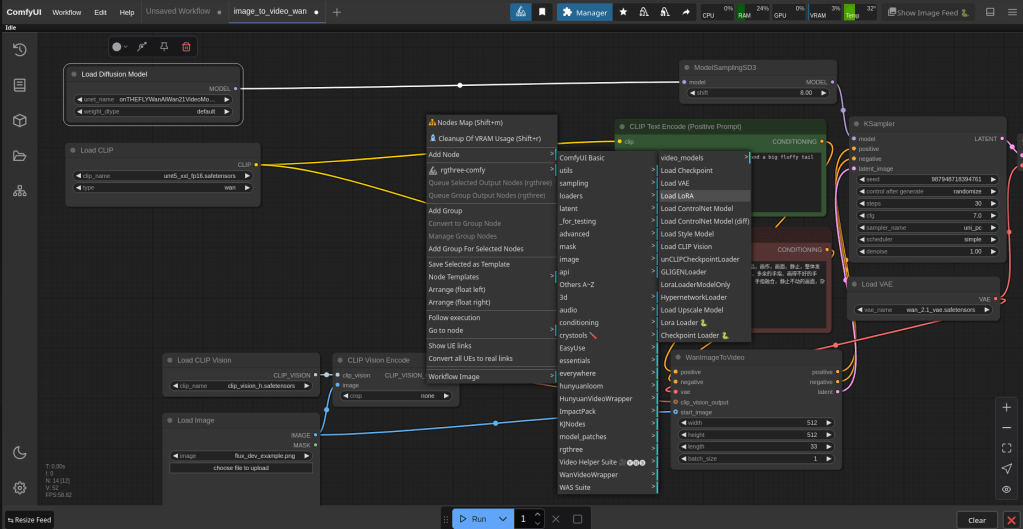
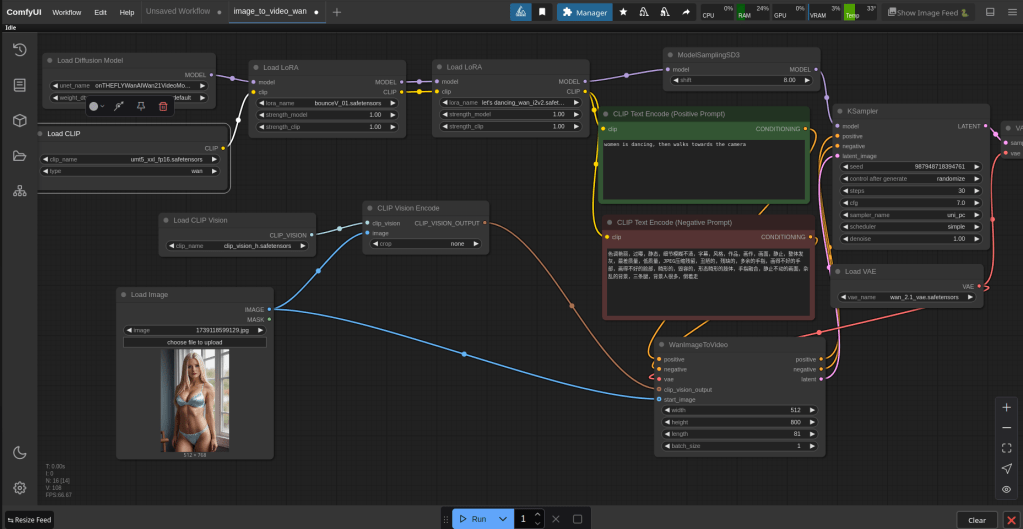
Above is how you add the lora boxes. You can switch between different lora models you have uploaded. The loras will help your description and make your video come out how you want it to. Depending on your width, height and length this process can take up to 20min-1h. If you pay for a more expensive pod it is possible that this will speed things up, although i have not tried this myself. In the bottom left is where you upload your picture.
FaceFusion
So i want to do a section on face fusion because i think it’s a good tool and can be used locally and with NSFW pictures if that is what someone is doing.
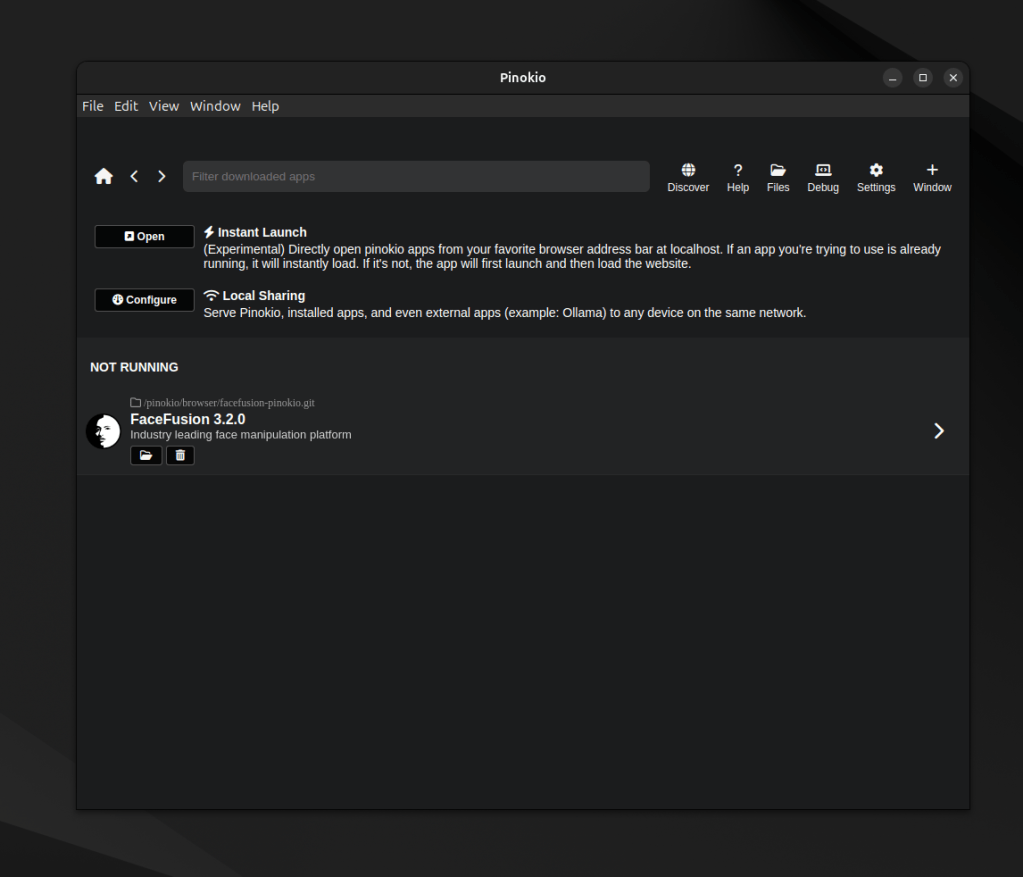
So one of the best and easiest ways to download facefusion is in a program called pinokio. Github link: https://github.com/pinokiocomputer/pinokio/releases.
whether you are on a windows or linux you can download pinokio. Once pinokio is installed go to the discover page and type facefusion then install it.
Now before you start the program if you want to be able deal with NSFW pictures then you have to add a file to a folder. download the files from: https://github.com/shambrain/FaceFusion-3-NSFW-Fix. Take one of the files out of the folder and switch it with with the same named file in C:\pinokio\api\facefusionpinokio.git\facefusion\facefusion\. In linux it’s the same.
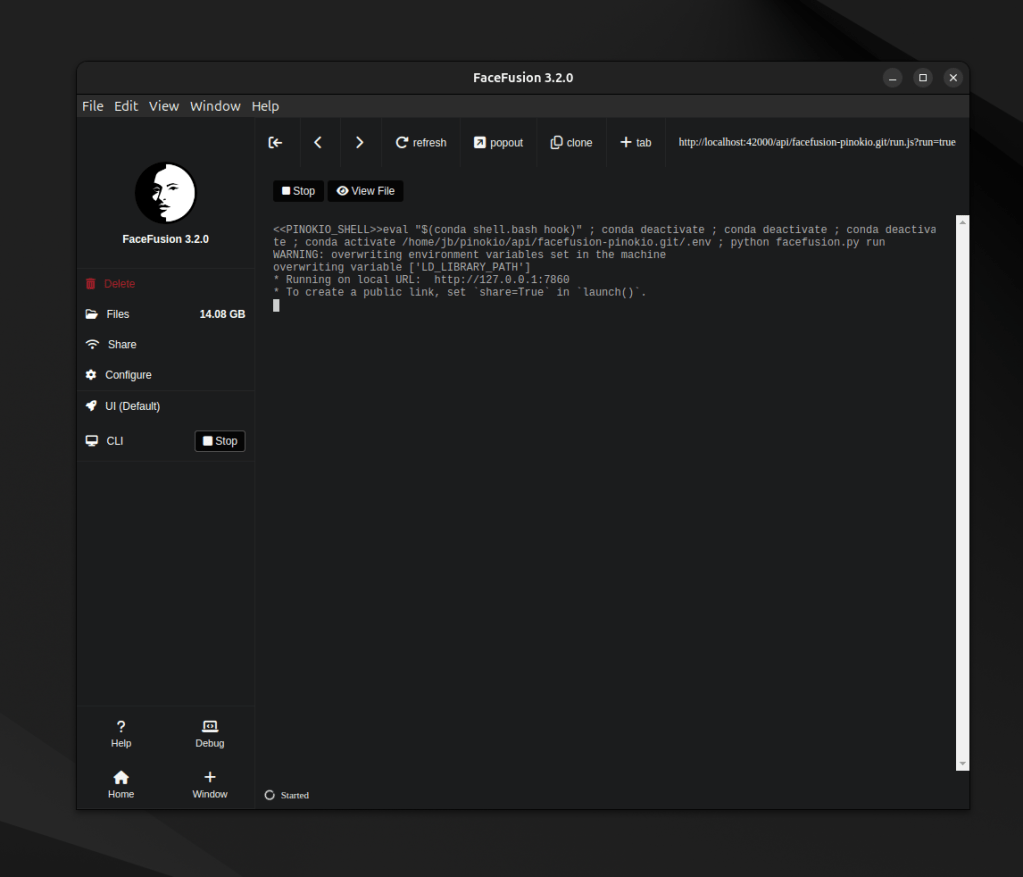
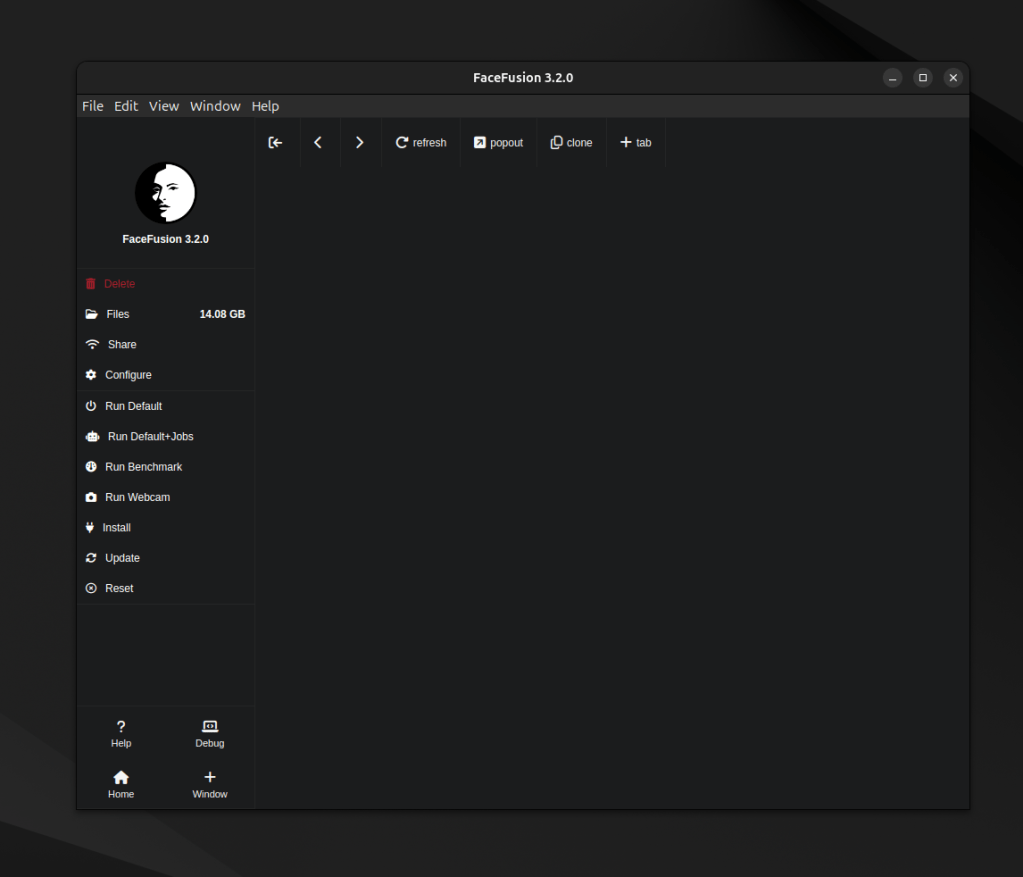
Now you can start the program, run default. Then like above click on the url.
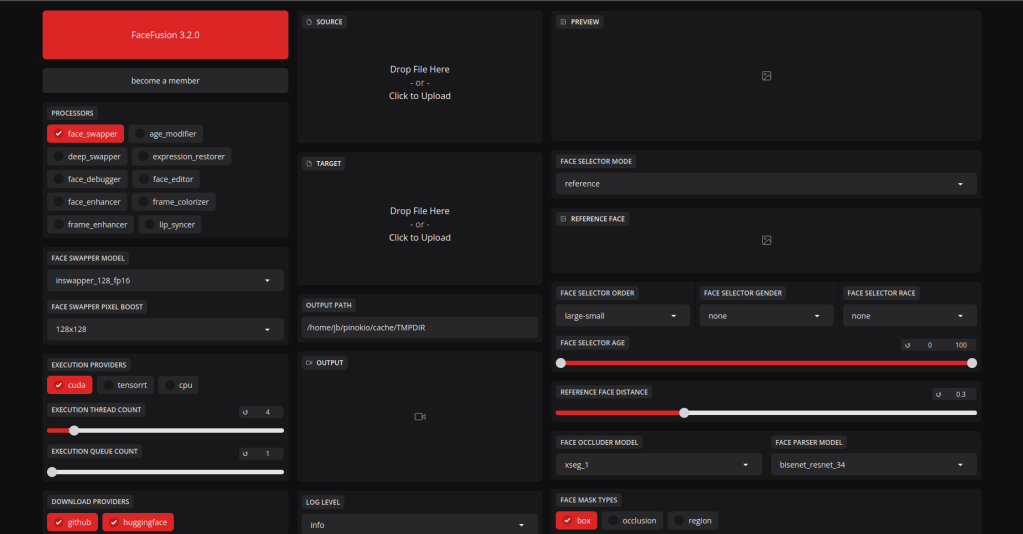
The interface looks like this. Most of the settings can be left at default. Place a picture in the target area, the one you want to change and the face you want on target in the source area. You can also enable face enhancer this makes the picture better. Then go to the bottom and click start.
That concludes this post, check my youtube videos out: https://www.youtube.com/playlist?list=PLcHMVqvFpPeguxqYrAId2SvXZ0DmudAVx
Runpod: https://runpod.io?ref=7ynagxy1
see you in the next one.


Leave a comment